.NET Core Development and Debugging on Torizon Using Visual Studio Code
Introduction
This article explains how to run and debug .NET Applications on TorizonCore using the Visual Studio Code extension provided by Toradex.
The goal is to show a simple LED blink using .NET Core Console template and being able to debug the code with breakpoints using the Torizon Visual Studio Code Extension.
This article complies with the Typographic Conventions for Torizon Documentation.
Prerequisites
- Read the article Visual Studio Code Extension for Torizon.
- Pay special attention to the commands tab.
- Have one of the OS below:
- Windows 10 Pro / Enterprise / Education
- Linux (it was validated using Ubuntu 18.04)
- Toradex Hardware with TorizonCore installed.
- .NET SDK
- C# extension for Visual Studio Code
Create a New Project
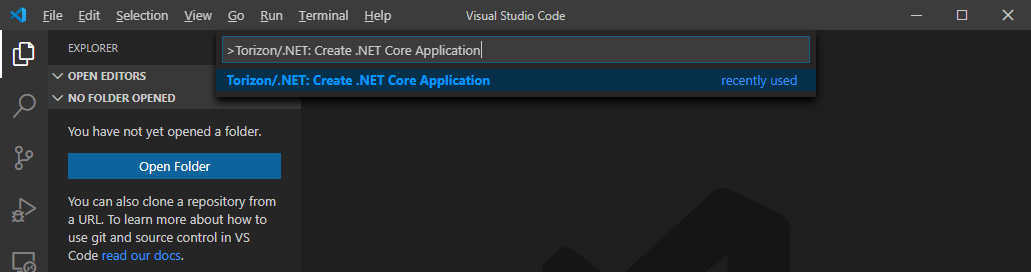
Press F1 on Visual Studio Code and then type Torizon/.NET: Create .NET Core Application to create an application:
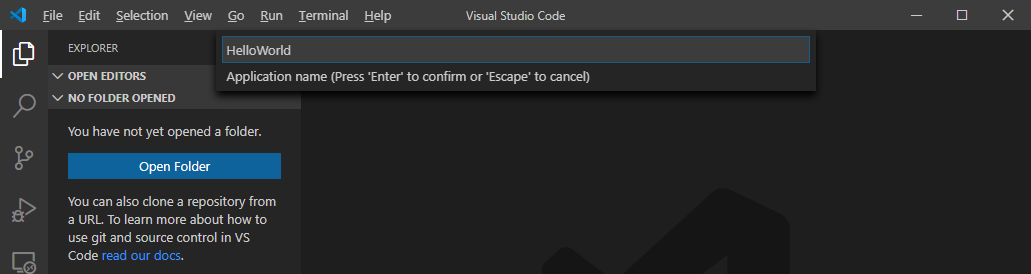
After creating it write the application name on the same command bar:
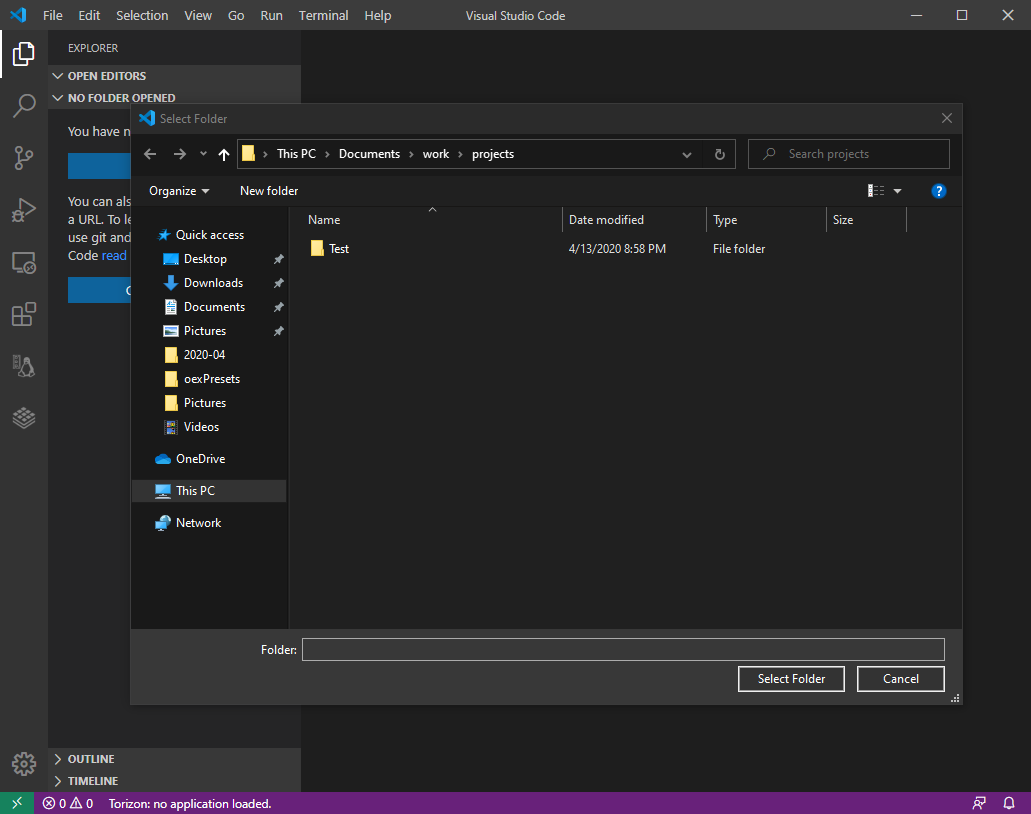
Select a folder on system to store the project files:
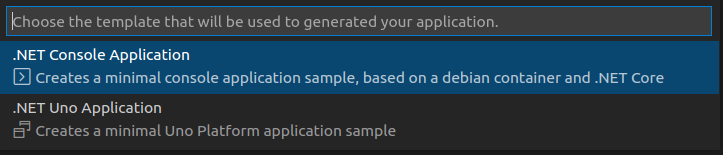
After the folder selection, select the .NET Console Application as the type of project:
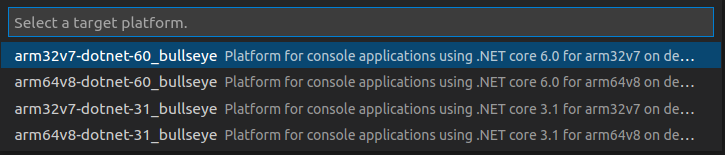
Then choose the right target architecture of your board and the framework version to be used:
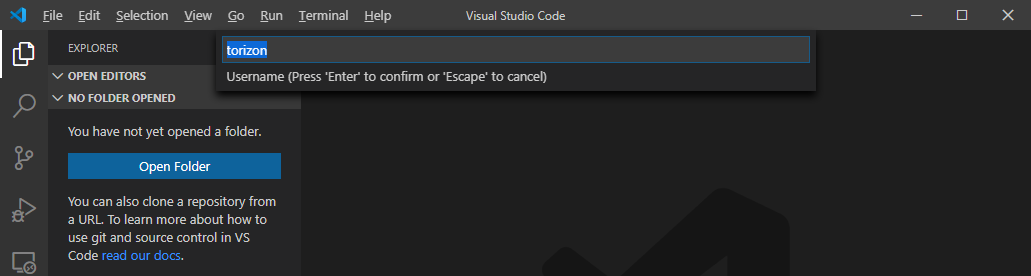
Type torizon on the username label:
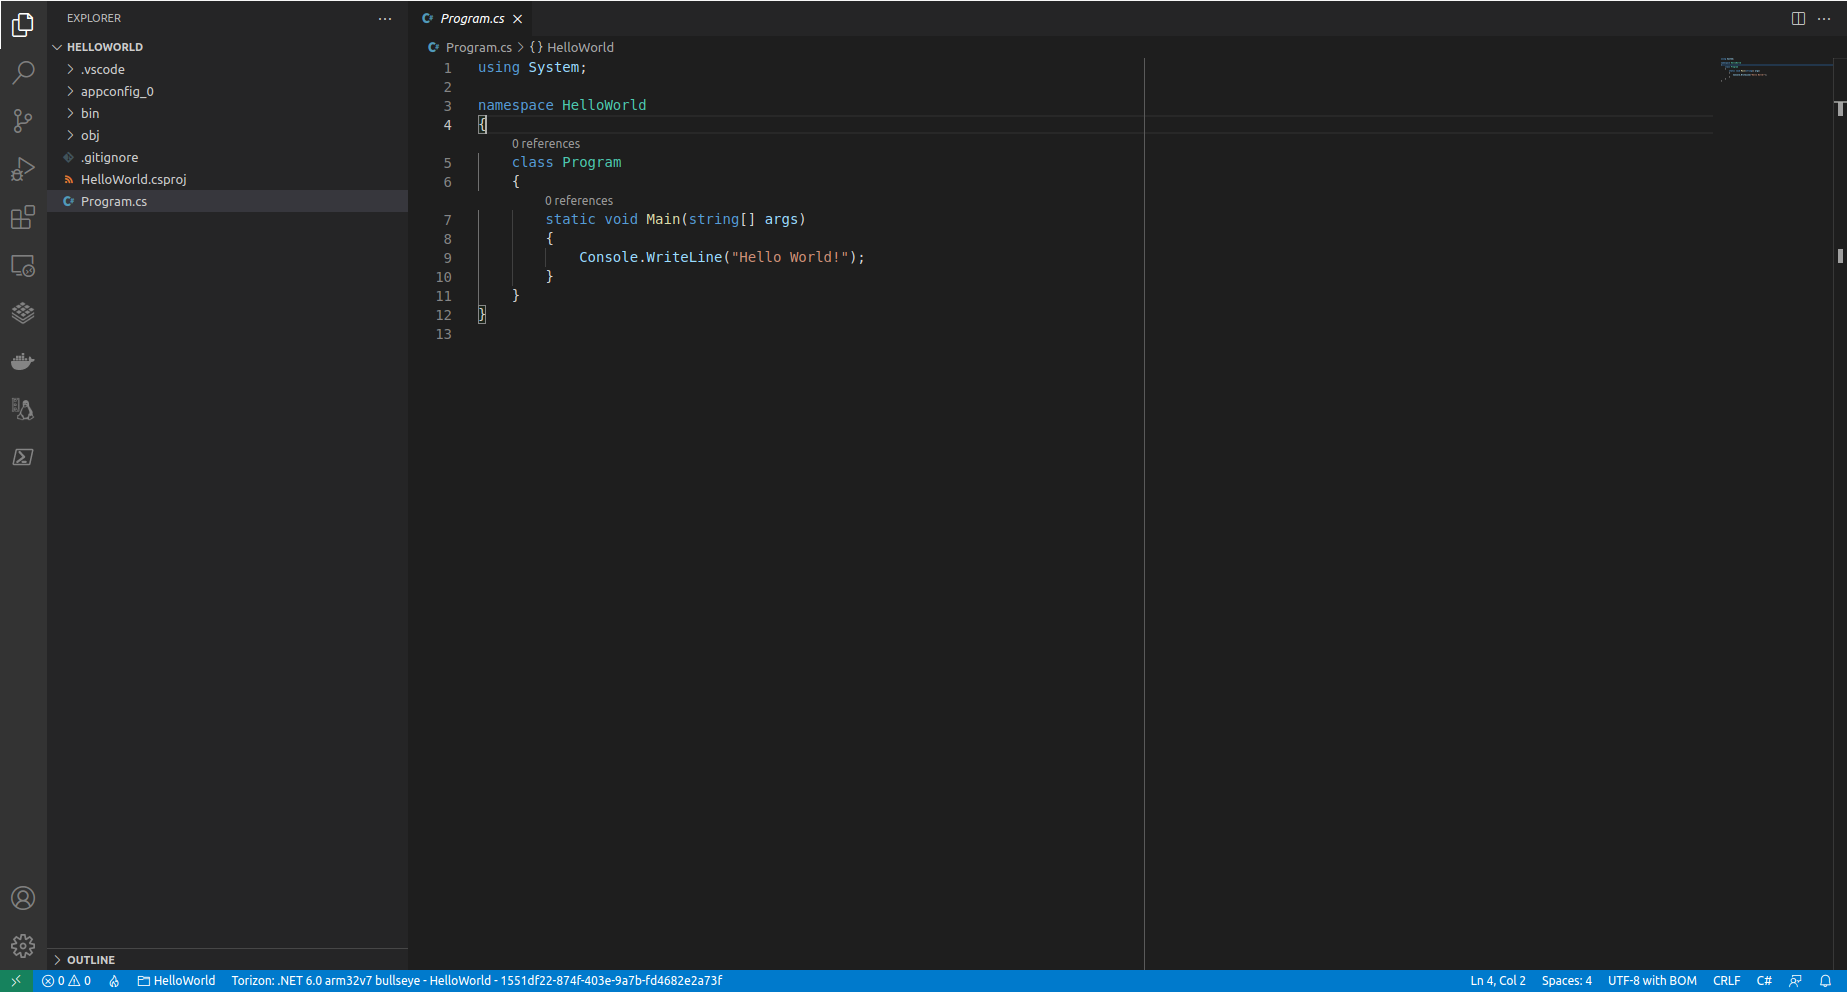
A .NET Core Console project with the following files will be created:
Configure Project
Understand how to add Nuget packages, library dependencies and more in the next subsections.
For this article we will set up a project to make a simple blink LED as Hello World example.
Add Nuget Packages
For add .NET Core dependencies packages on .NET Core Torizon project there are no differences between a standard .NET Core project. Open a new terminal using the Visual Studio Code and enter the command:
dotnet add package System.Device.Gpio
This will add the dotnet/iot library to our project, which will have the APIs for access GPIO through .NET Core using C#.
Add Package Dependencies
Some Nuget packages may depend on other packages and shared libraries. Open the Torizon configuration and edit the extrapackages configuration, just need to click on the pen icon and add libgpiod2 libgpiod-dev:
This is done to add support to LibGpiodDriver from System.Device.GPIO.
Add Build Configuration Commands
In some cases it will be necessary to run some commands to add settings to the image generated by the extension. For these cases there is the buildcommands configuration. Open the Torizon configuration and edit the buildcommands value with:
RUN usermod -a -G gpio torizon
This will add our user torizon to the gpio group to have access to GPIO management.
Source Code
The example code used in this article comes from the sample https://github.com/toradex/torizon-samples/tree/master/gpio/dotnet/console/
Hardware Setup
For the purposes of example in this article, the Apalis iMX6Q and Ixora carrier board will be used.
For the LED connection, the SODIMM_5 of the Apalis family will be used, which in the case corresponds to the Ixora Extension Header x27 pin 15:

Which for Linux corresponds to the GPIO bank /dev/gpiochip1 line 6. See our article How to Use GPIO on TorizonCore to know more.
Add Devices
For projects that need to access hardware devices, listed in TorizonCore /dev/, it is necessary to add the device path in the settings for the application to have access to it. Open Torizon configuration and add a /dev/gpiochip1 device on devices list:
Update GPIO Bank & Line
Edit https://github.com/toradex/torizon-samples/tree/master/gpio/dotnet/console/Program.cs lines 19, 20 with the content below:
            int gpioBank = 1;
            int gpioLine = 6;
And remove lines 12, 13, 14, 15, 16 and 17.
In this article we are using /dev/gpiochip1 (GPIO bank 1) and line 6 for example purposes. Remember to enter the /dev/gpiochip and line number device for the pin that will be used in your project
Deploy and Debug
After configuring your project, you can now deploy and debug it. Since this is common to all languages supported by the extension, please refer to the section Deploy and Debug from the article Visual Studio Code Extension for Torizon.
Deploy and Release
After going through the process of deploying and debugging the application, you can now deploy and release it. Since this is common to all languages supported by the extension, please refer to the section Deploy and Release from the article Visual Studio Code Extension for Torizon.